OpenGL笔记01(建立OpenGL和用C++创建一个窗口)

  1. 1. 建立OpenGL
    1. 1.1. 下载GLFW
    2. 1.2. 设置库
      1. 1.2.1. 添加依赖文件
      2. 1.2.2. 配置属性
  2. 2. 创建一个窗口
    1. 2.1. 绘制一个三角形

建立OpenGL

学习使用的环境: Windows 10, Visual studio 2017, 项目架构x86, GLFW 32位。

下载GLFW

进入网站: GLFW网站

Download下载GLFW,这里是源码,下边有预编译好的版本。Document可以查看文档(其中就有创建窗口的方法)。

设置库

添加依赖文件

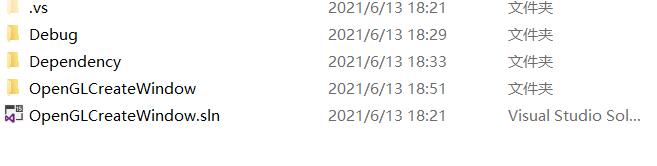
在项目中添加Dependency文件夹,用来存放GLFW依赖。上边下载的GLFW的预加载文件,解压后。

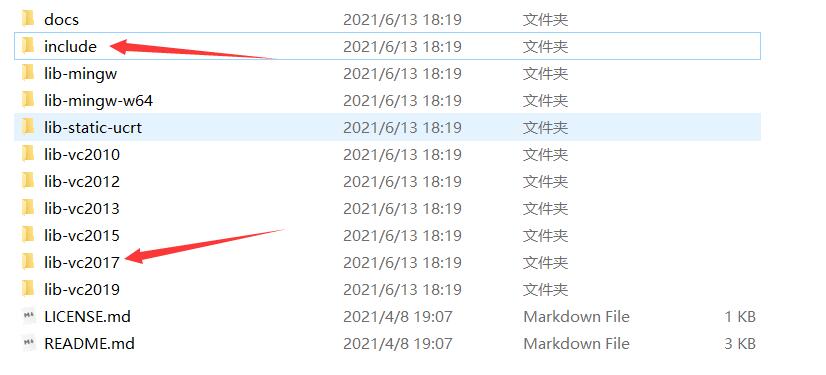
主要用到两个。在lib-vc2017中,glfw3.dll和glfw3dll.lib暂时可以不需要,主要用到静态链接库glfw3.lib

配置属性

打开VS右边的属性管理器,右键项目 -> 属性(properties),如下配置

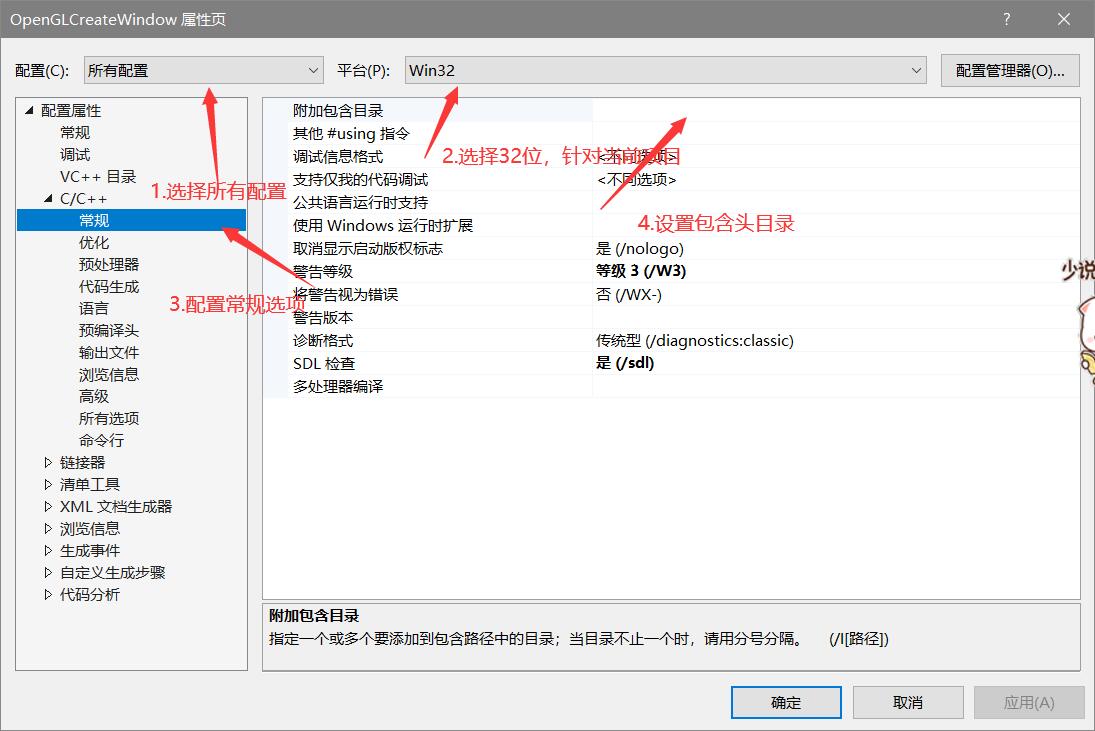
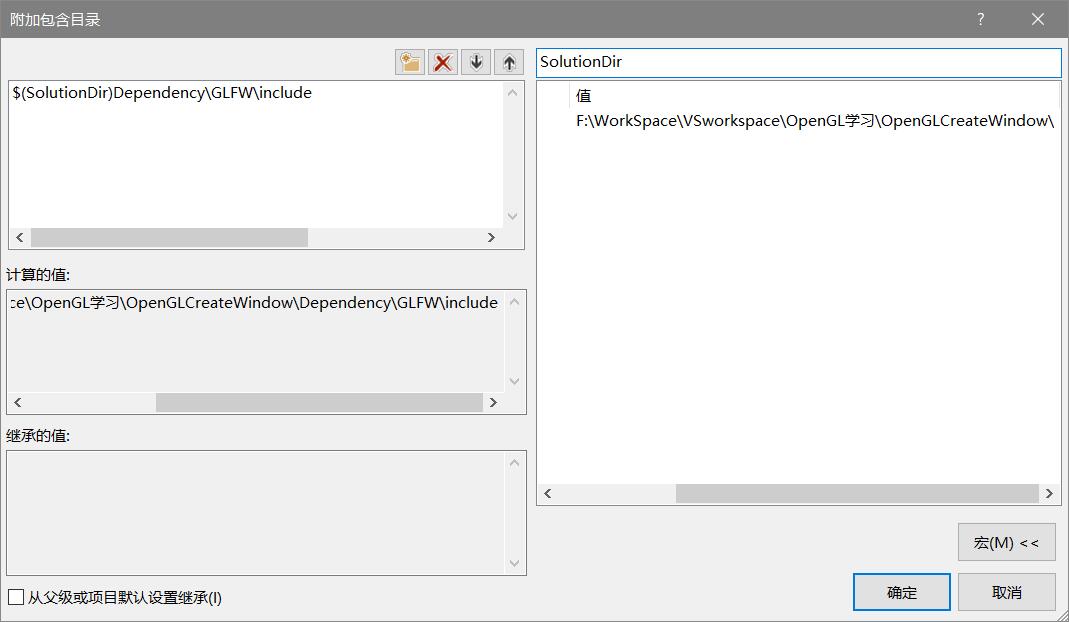
点击附加包含目录,添加include位置,但是不推荐直接写绝对路径,因为项目不一定会在这个位置,当然vs提供了一个宏定义(Macros),点击宏,搜索SolutionDir即可找到。

设置配置

Dependency位置,验证配置正确与否,可以在包含目录点击三角,下边有个编辑,有个计算的值,把值拿出来放在文件夹路径下,看看能不能访问到,能访问到就ok了。

同样的方法设置链接器(linker)

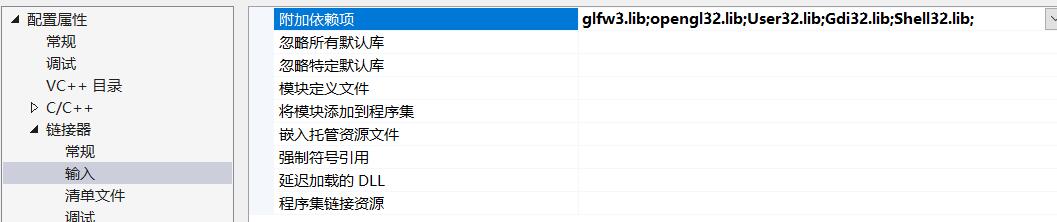
设置需要的依赖项 (Additional Dependencies)

创建一个窗口

打开GLFW官网的Document页面,复制代码

1
2
3
4
5
6
7
8
9
10
11
12
13
14
15
16
17
18
19
20
21
22
23
24
25
26
27
28
29
30
31
32
33
34
35
36
37
#include <GLFW/glfw3.h>

int main(void)
{
GLFWwindow* window;

/* Initialize the library */
if (!glfwInit())
return -1;

/* Create a windowed mode window and its OpenGL context */
window = glfwCreateWindow(640, 480, "Hello World", NULL, NULL);
if (!window)
{
glfwTerminate();
return -1;
}

/* Make the window's context current */
glfwMakeContextCurrent(window);

/* Loop until the user closes the window */
while (!glfwWindowShouldClose(window))
{
/* Render here */
glClear(GL_COLOR_BUFFER_BIT);

/* Swap front and back buffers */
glfwSwapBuffers(window);

/* Poll for and process events */
glfwPollEvents();
}

glfwTerminate();
return 0;
}

F5运行即可得到一个窗口。

绘制一个三角形

绘制是在glClear之后进行绘制。需要glBegin(GLenum) glEnd()。添加代码

1
2
3
4
5
6
7
8
9
10
...
/* Render here */
glClear(GL_COLOR_BUFFER_BIT);

glBegin(GL_TRIANGLES);
glVertex2f(-0.5f, -0.5f);
glVertex2f(0.0f, 0.5f);
glVertex2f(0.5f, -0.5f);
glEnd();
...

运行即可。